 AU
AU
 USA
USA Canada
 UK
UK EU
EU New Zealand
 Japan
Japan Singapore
 UAE
UAE India
IndiaClarity Pro 27" UHD 4K Monitor with 65W PD and Webcam


Clarity Pro 27" UHD 4K Monitor with 65W PD and Webcam
Couldn't load pickup availability
Specifications
Specifications
Downloads
Downloads
“Alogic Clarity Pro Touch Display – Best touchscreen display for Mac”
“Alogic's New Clarity Pro Displays Include a Retractable Webcam and Optional Touchscreen Functionality”
"Alogic’s Clarity Pro Is An Affordable Alternative To Apple’s Studio Display"
“Alogic Clarity Pro touch: Making Macs all touchy-feely”
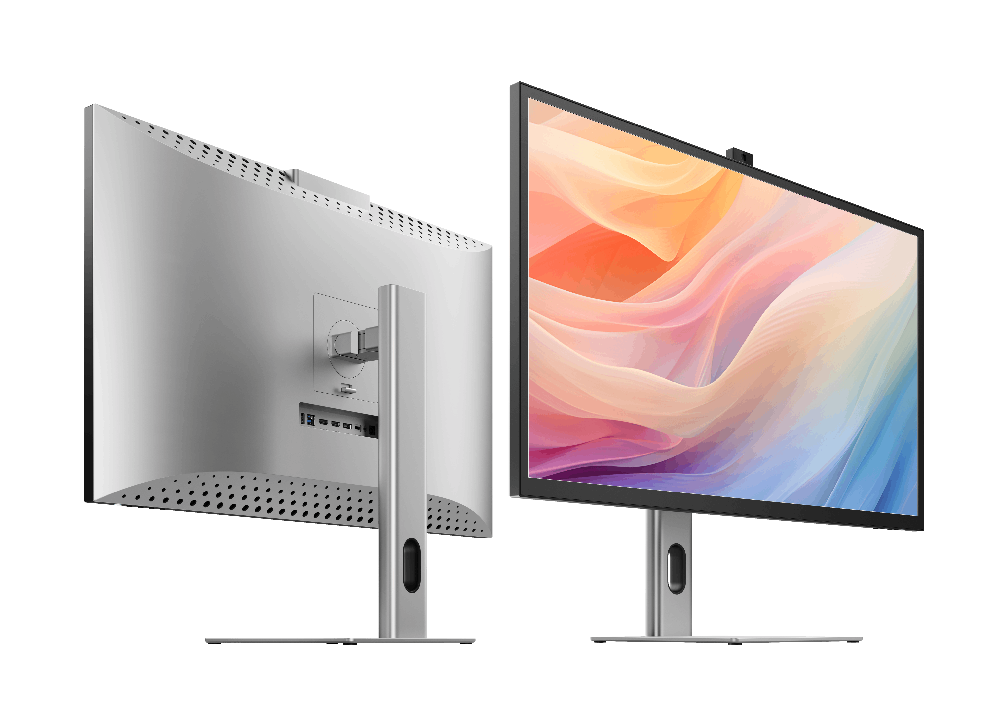
Clarity Pro is a non-compromise display for artists who demand the best.
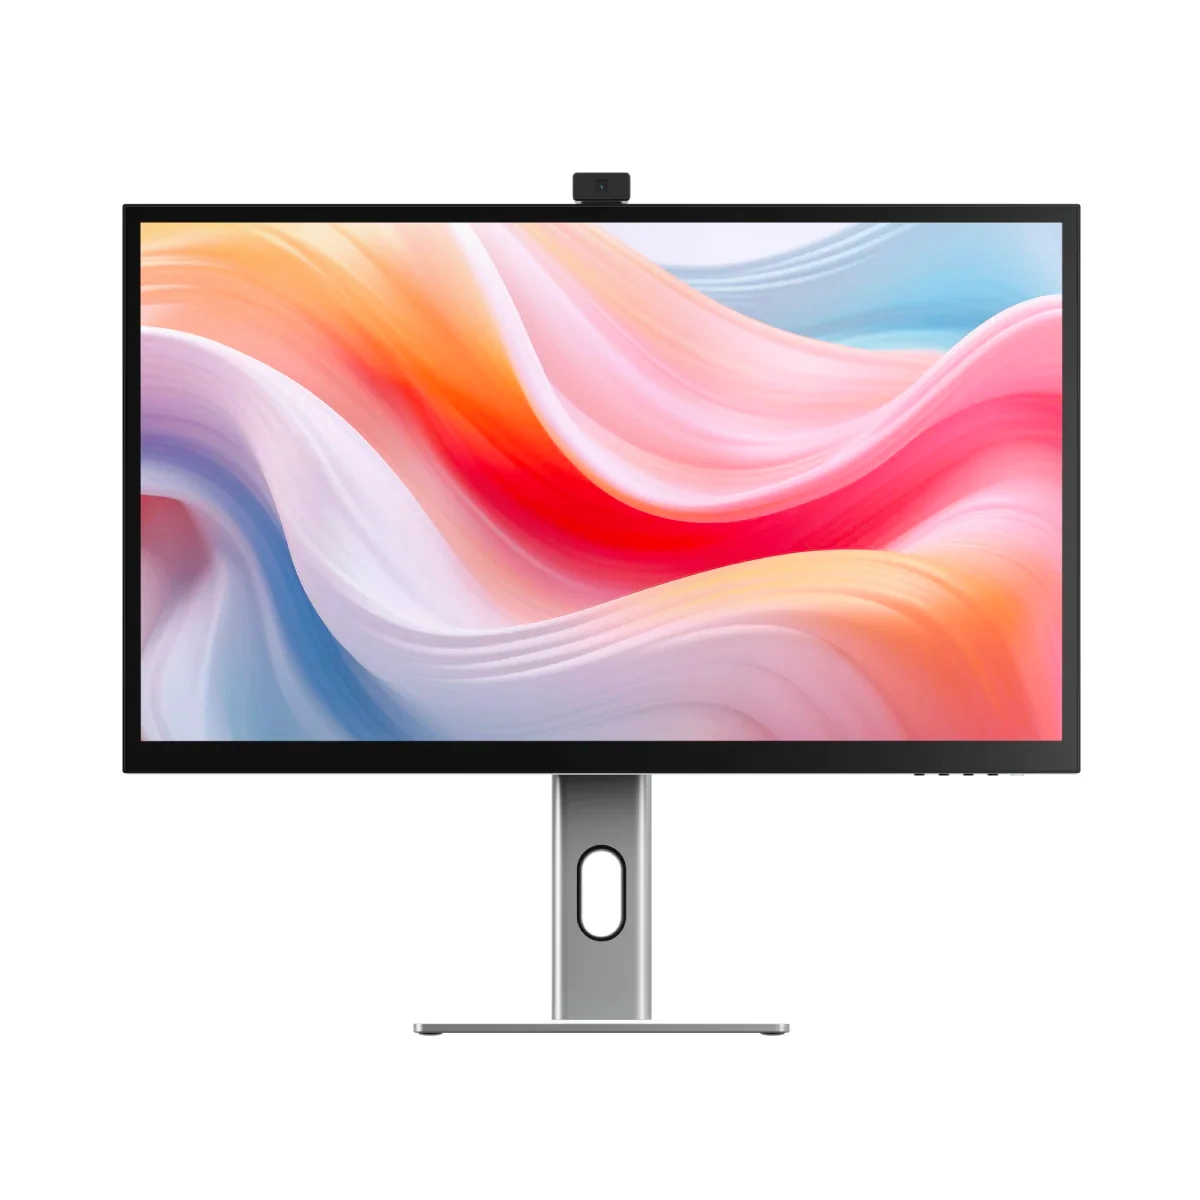
Our 27” studio-quality 4K display presents your work in perfect colour, while its automatically retracting 8MP webcam only shows your best side.
Clarity’s USB hub lets you connect to your workstation with a single cable, saving your focus for your next masterpiece.

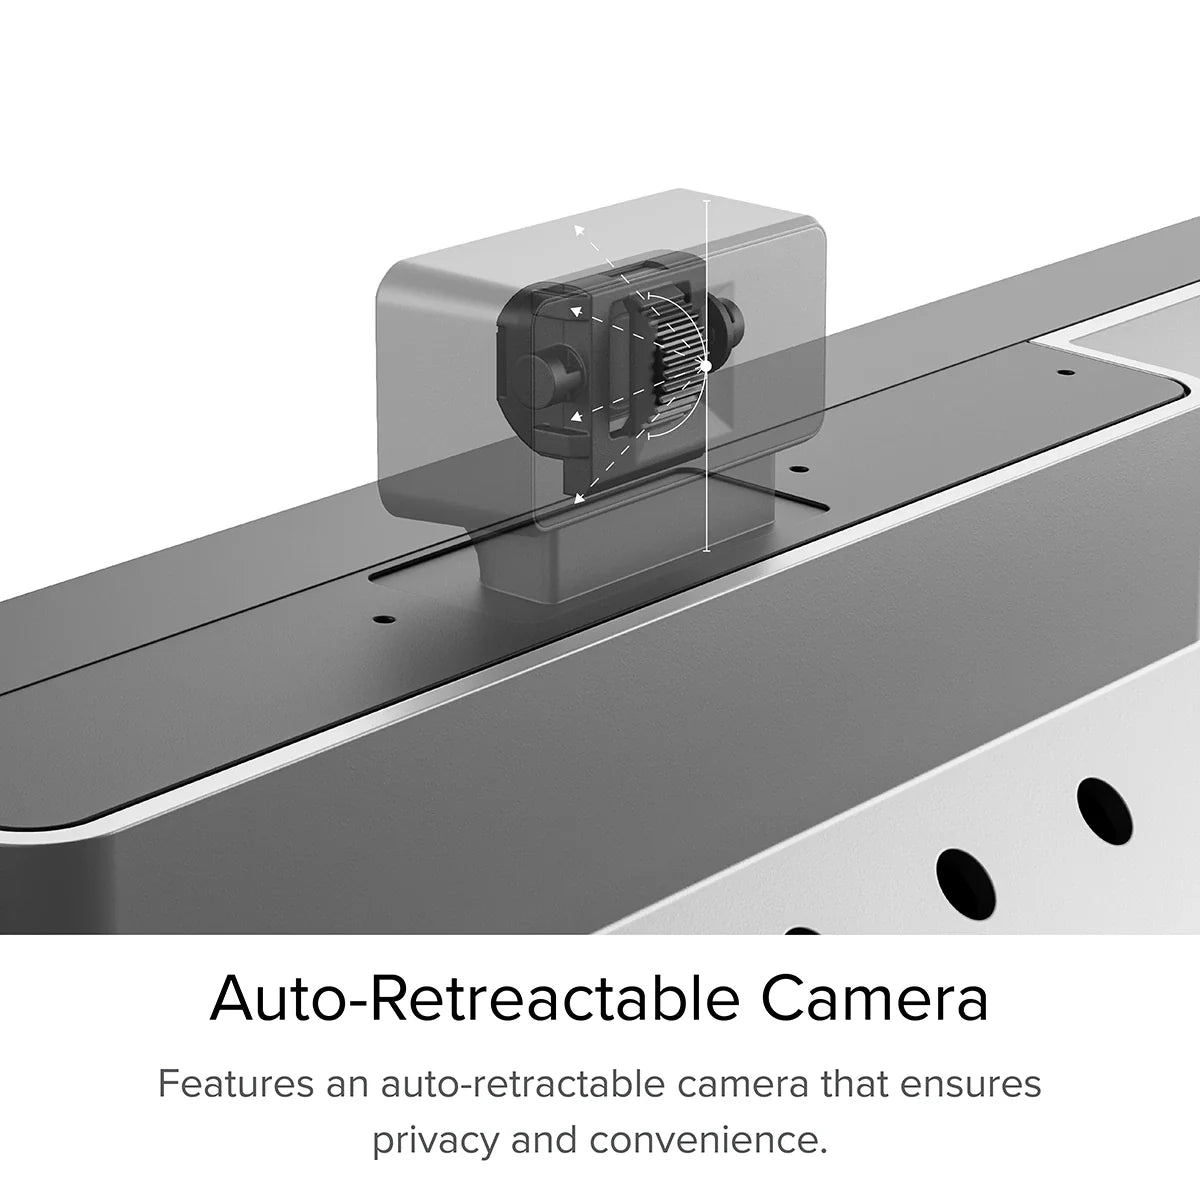
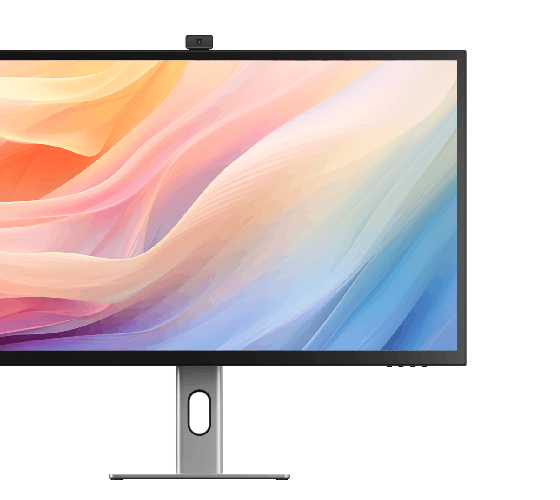
Clarity Pro’s smart webcam stays hidden until you start a video call, then automatically slides back down again when the meeting ends, protecting your privacy and keeping the lens clean for a pristine 8-megapixel picture.
With Clarity Pro’s 8MP auto-retracting webcam you’ll look stunning – but only when you want to.
The webcam’s angle is easily adjusted via its rear scroll wheel, ensuring you’re always the centre of attention. It takes just seconds to dial in your best angle with Clarity Pro’s webcam adjustment wheel – but the impression you make will last a lifetime. Say goodbye to all your laptop webcam’s awkward angles and hello to your best look.


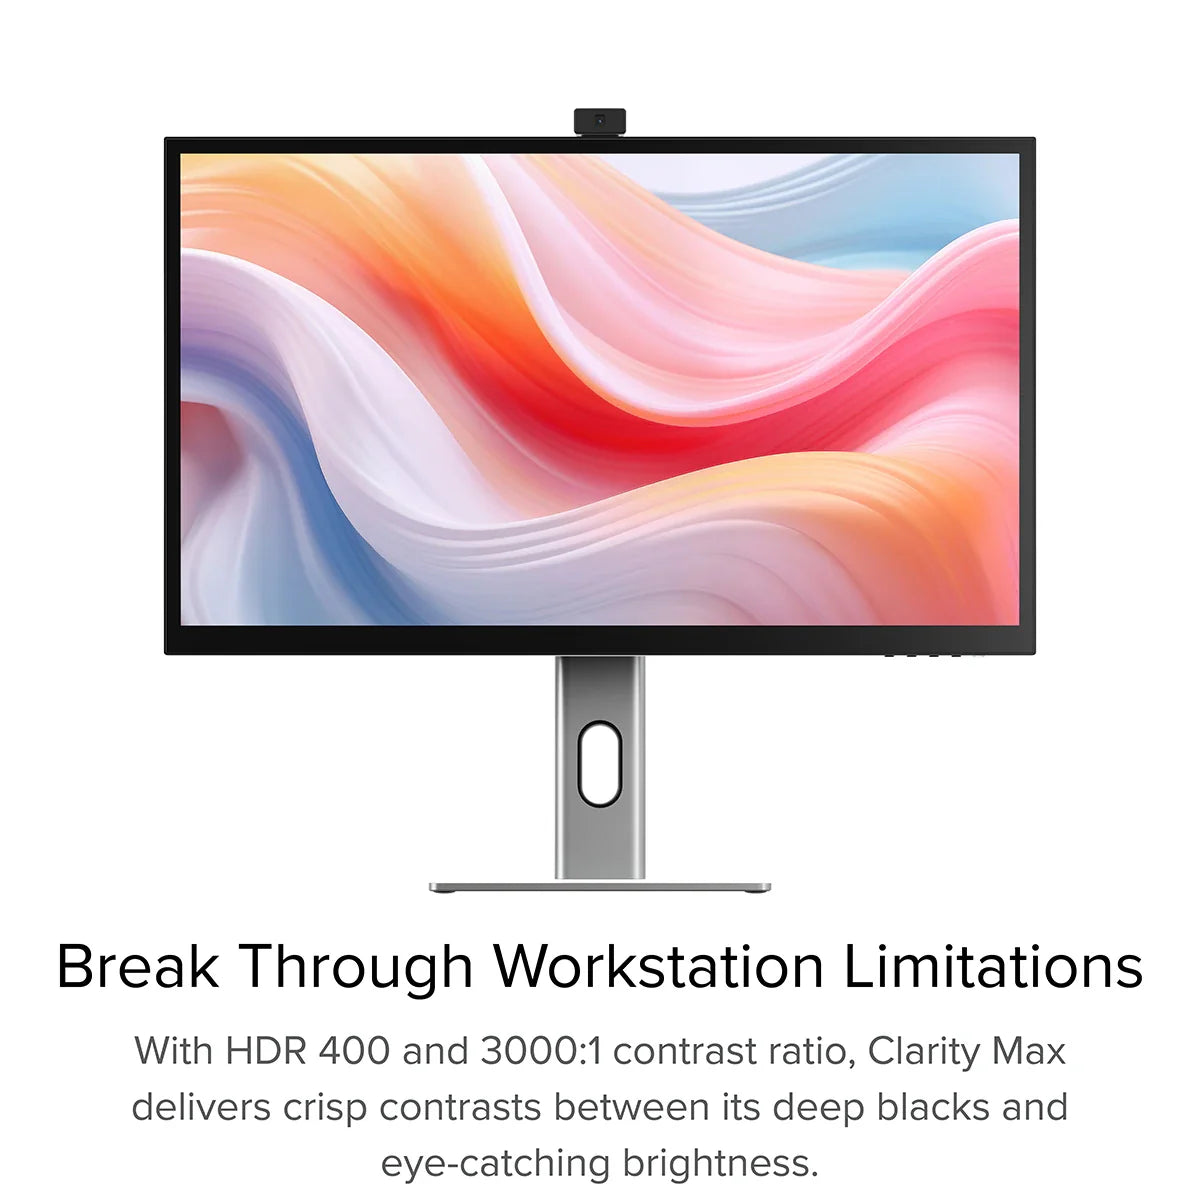
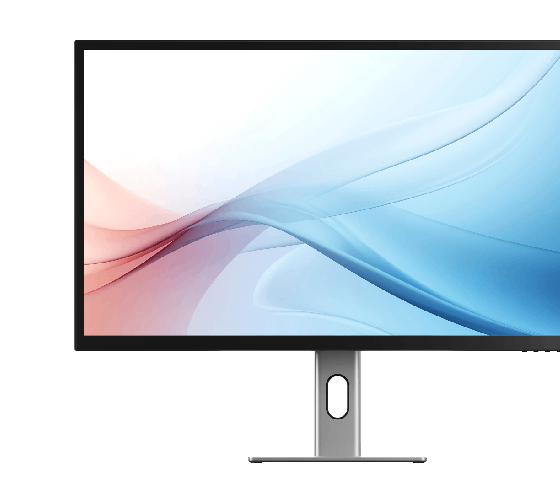
Exhibit your craft like never before with more than one billion colours across Clarity Pro’s breathtaking 27” 4K screen. Its exceptional colour gamut, vivid 350 cd/m2 brightness and sharp HDR contrasts make it a powerful tool you can stake your creative reputation on.

- USB-A
- USB-B
- HDMI
- DisplayPort
- USB-C
- Audio Output

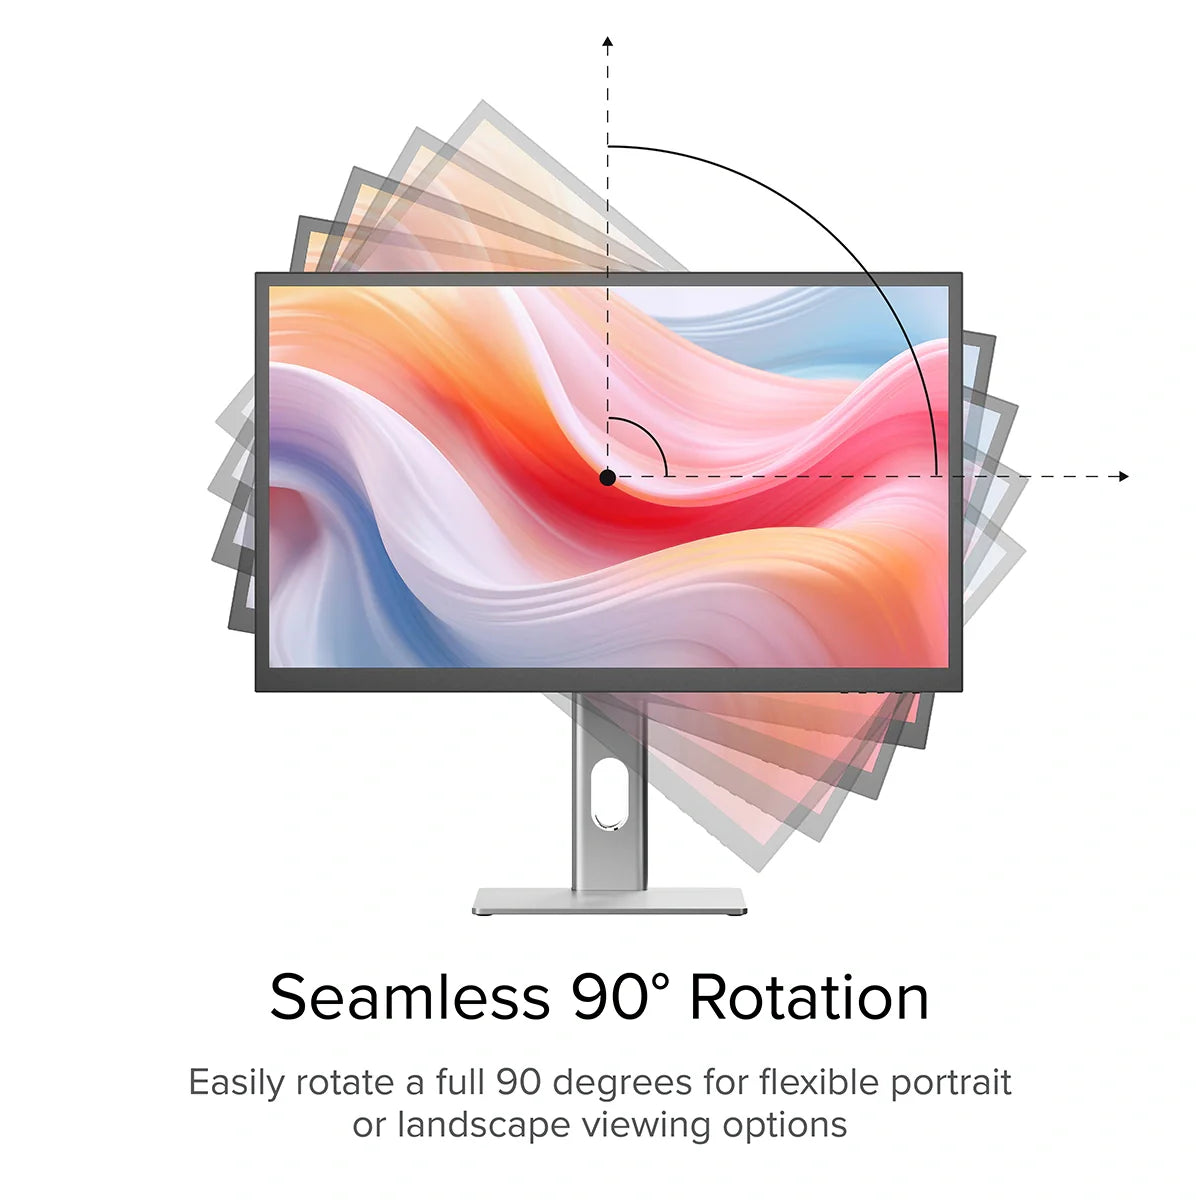
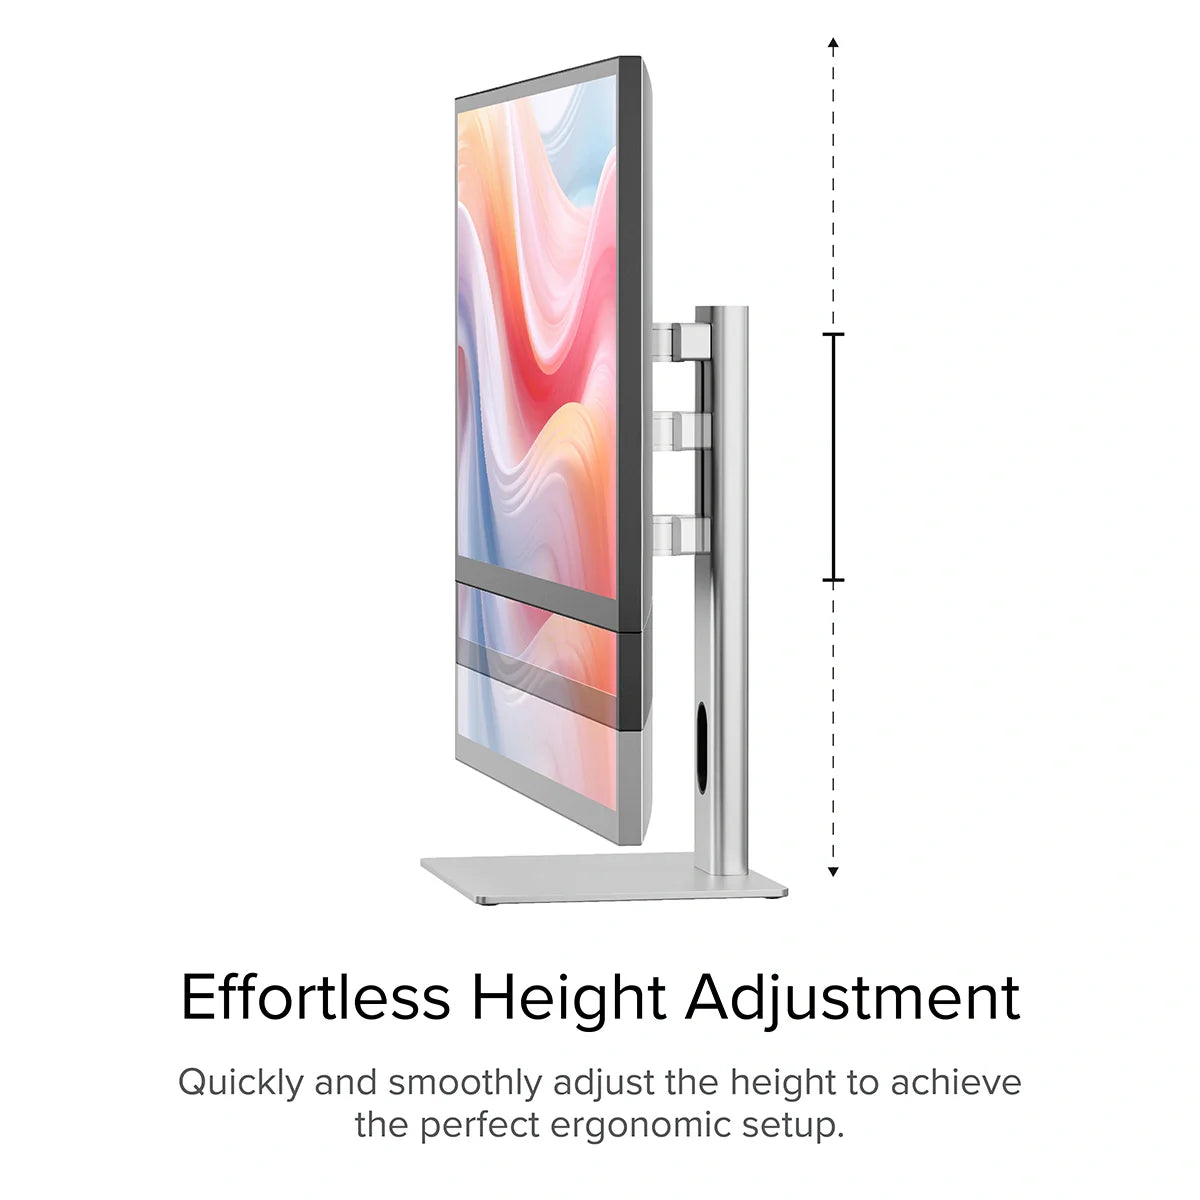
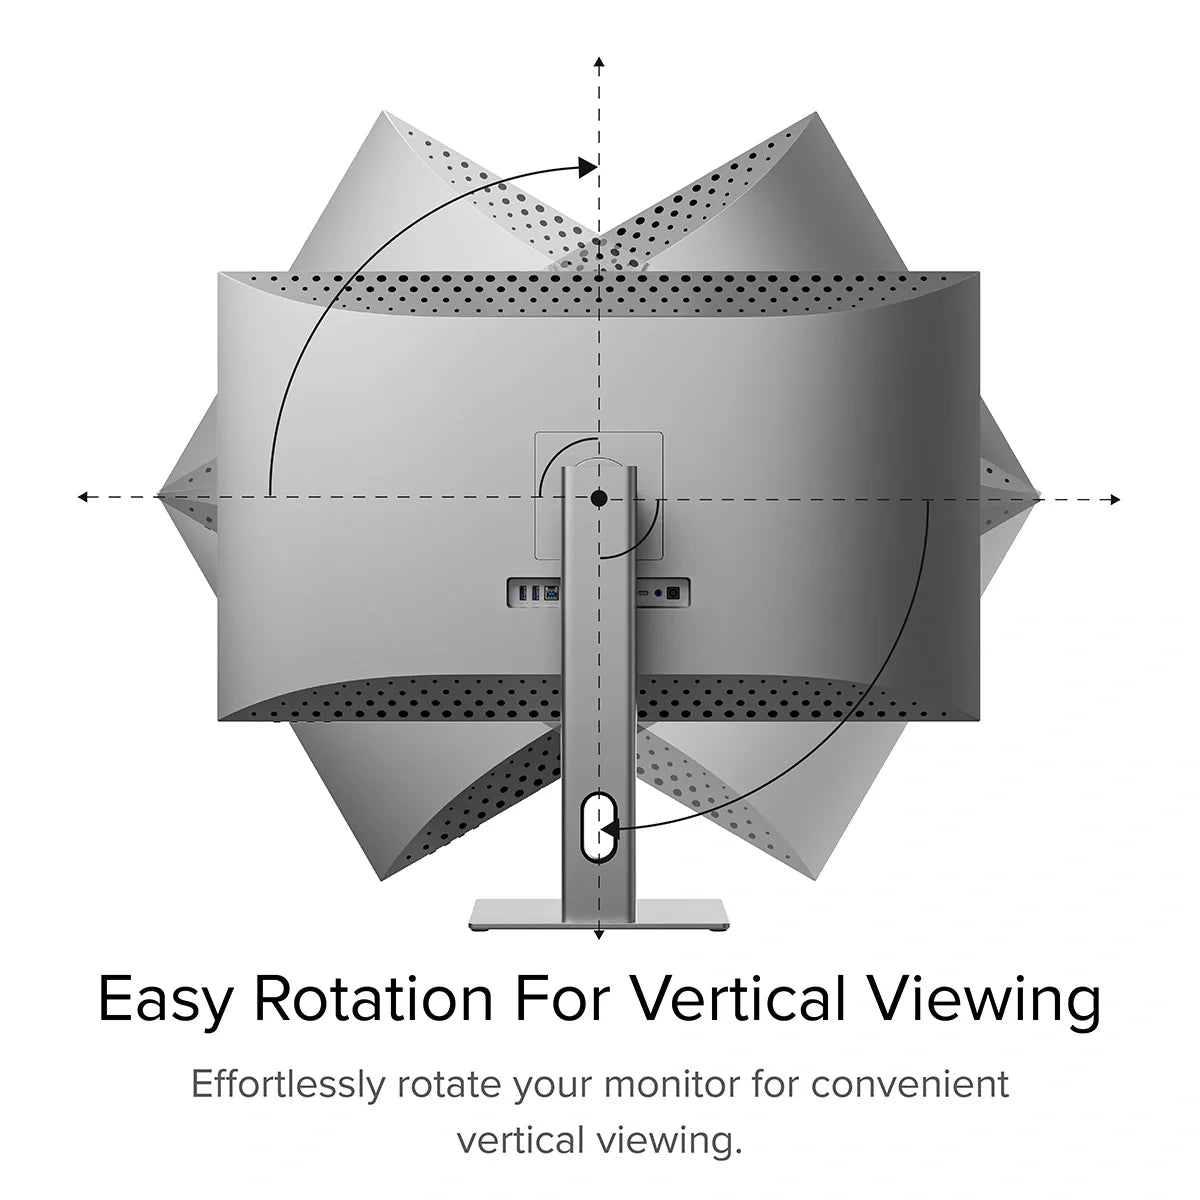
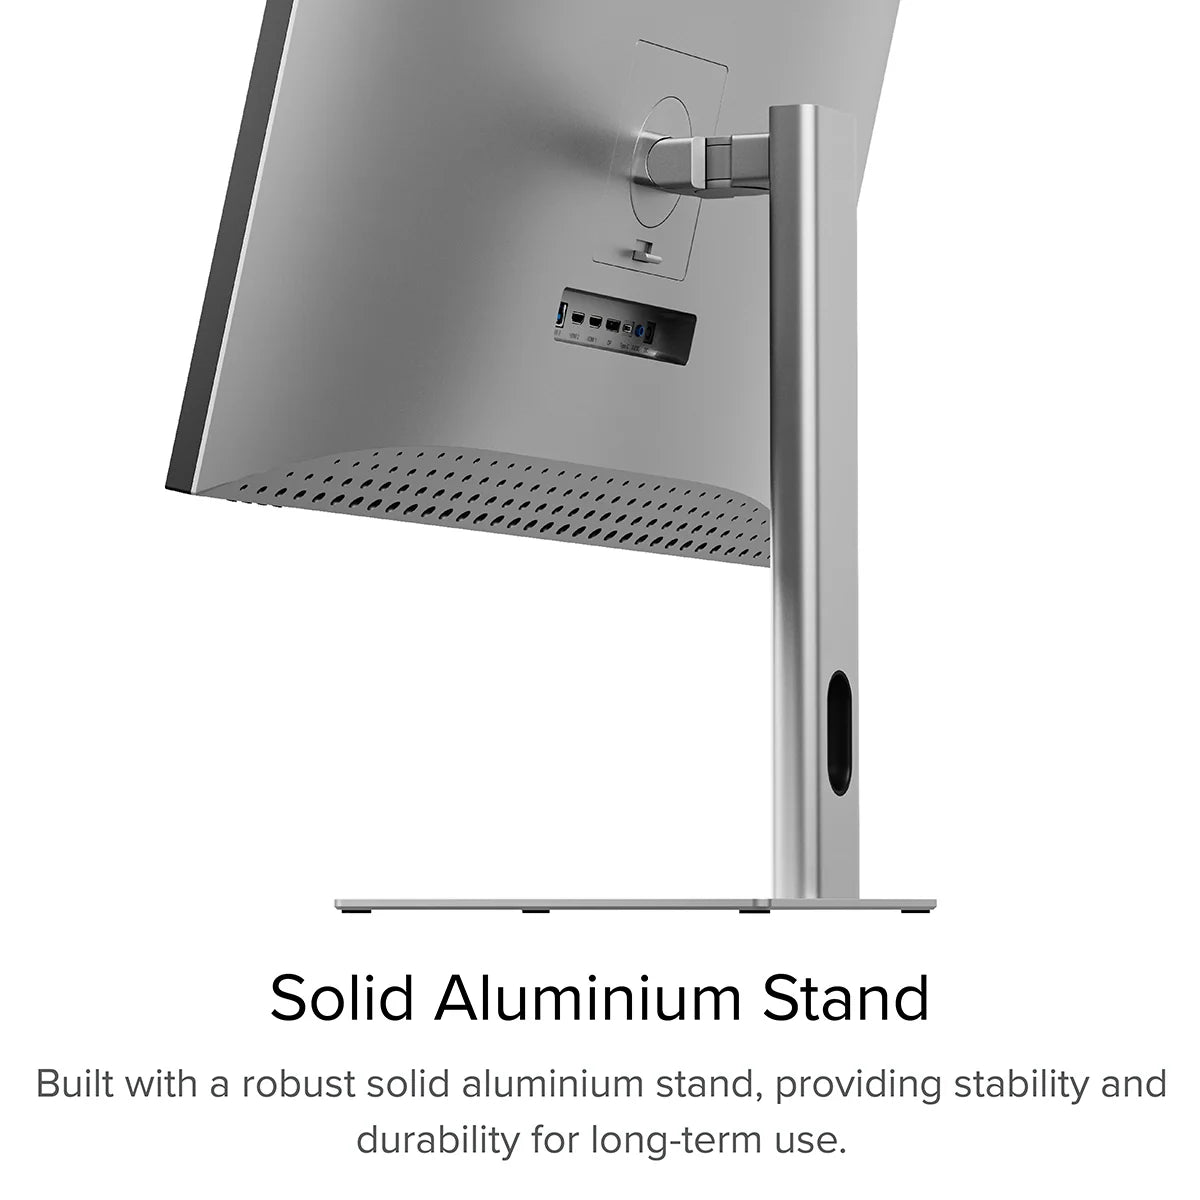
Our aluminium stand makes it easy to position Clarity Pro exactly where you need it, letting you raise, pivot, tilt and swivel the display for ergonomic comfort.


The CLARITY also features In-Plane Switching [IPS]. IPS display panel technology enables workplace teams to view the same screen from angles up to 178 degrees [almost completely sideways], without diminishing image quality.
With Clarity’s smart rotation sensor, it takes just seconds to switch from landscape to portrait, perfect for editing vertical video,answering emails or monitoring a livestream. When you’re done, switching back is just as easy.


General
The key difference between Clarity and Clarity Pro is that Pro has an 8MP webcam built into the monitor.
This smart webcam automatically slides up from the top when you start a video call, then slides back down when the call ends, keeping the lens clean and protecting your privacy.
Clarity Pro Touch has both the inbuilt webcam and a ‘one-glass solution’ 10-point touchscreen.
The formula is: Clarity (4K studio-quality monitor) + Pro (smart inbuilt webcam) + Touch (touchscreen).
There’s one other difference between Clarity and Pro/Pro Touch – they can’t charge your computer quite as fast, with only 65W passthrough charging compared to Clarity’s 90W. This is because 25W need to be reserved for the webcam.
However, it does need to plug into a USB-C port compatible with PD (Power Delivery) on your computer.
These can sometimes be identified by the presence of a battery icon next to the port on your laptop, but often you’ll need to check the user manual or manufacturer’s website to figure out which USB-C ports support PD.
All Thunderbolt 3 and 4 ports support PD.
1. Connected to Clarity via either:Clarity's USB-C port or Clarity's USB-B port
2. Clarity "Active USB" mode is set to the same USB port you've connected to your computer.
To change Clarity's "Active USB" mode, navigate to "USB Switch" in the "Other Settings" menu of Clarity's main menu.
For example: if your computer is connected to Clarity via USB-C, you would select "Type-C" in the "USB Switch" menu.
Remove the stand stem and base from their protective bags. Slot the stem onto the base and fasten via the thumb screw underneath the base.Align the two latches at the top of the stand stem with the notches in your Clarity display, with the display still in the foam housing. Gently push the rear plate into Clarity, it will click into place.Lift your monitor out of the foam, ensuring the display's weight remains supported.